A fully-featured eCommerce system with a chatbot builder - E-commerce Store at BusyTap :
- Mobile app like easy to use UI
- Multiple outlet stores for each account
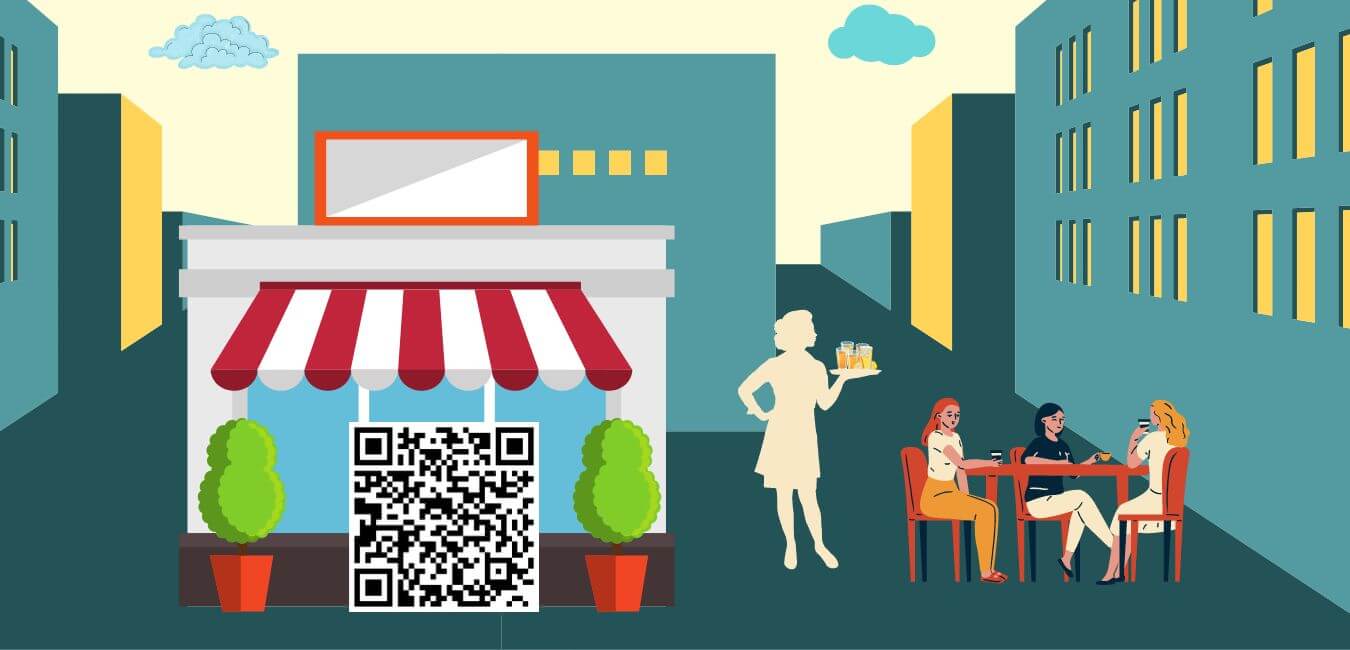
- Contactless QR menu Maker
- Product management
- Category & attribute management
- Coupon system
- Payment methods - PayPal, Stripe, Mollie, Razorpay, Paystack, Mercado Pago, and SSLCOMMERZ, SenangPay, Xendit, Instamojo, Cash On Delivery, Manual/Bank Payment
- Order management (shipping, delivery, reject or accept order)
- Order confirmation receipt in Messenger, WhatsApp, email & SMS
- Receipt printing using thermal printer
- Store pickup or delivery points, or table for onsite clients in a restaurant
- Saved delivery addresses
- Easy & flexible integration with Messenger Bot
- Business closing and opening hours, orders don't accept when closed.
Get an Online Store in 10 minutes
“Ecommerce store” is another special powerful business tool that comes free with BusyTap packages, you can instantly set up a complete professional online store(s) with many features including an ordering system, payment system, abandoned cart reminder, chatbot ready and provides two QR codes for your business menu or catalog. So that, when your customers scan the QR codes, your virtual store opens inside your Facebook Messenger or on a browser. Customers will be able to place orders without the help of any staff. The QR code acts as a Contactless Menu for a restaurant or catalog for a store.
With Busytap, you can create both an Online Shop or a Restaurant with an ordering system. For example, a Restaurant food order can be set for home delivery or inside the restaurant for counter or table-wise delivery. All options are available to create your eCommerce store or Restaurant.You can scan the live demo to the store/restaurant below left opens inside messenger and the right opens in the browser.

How to create an eCommerce store for inside messenger and for browsers with BusyTap.
We offer store creation and product uploads at an extra service fee order here
Creating store by yourself:
First, you have to create a store and then add products to the store. Make some settings so that your virtual store works properly.
First, Log in to your Bystap.com panel Dashboard > click on the eCommerce store.
 Just as you click on the Ecommerce store button, the interface of the
Ecommerce store page will appear with a Create store button at the top of the page.
Just as you click on the Ecommerce store button, the interface of the
Ecommerce store page will appear with a Create store button at the top of the page.

To create an online store, click on the Create store button> fill-out the form-- selecting a Facebook Page, provide information about your store, fill in your Terms of service and refund policy, and upload the logo and favicon.
In the form, there is a special box called local. Just as you click on the box, a drop-down menu of some languages will be shown-- select a language from there. Your eCommerce store will open in the language you select. For example, if you select English, your eCommerce store will appear to your customers in English.
When you have completed filling out the form, click on the create store button.

Checkout settings
You have to check out the settings for your store. Busytap eCommerce store is integrated with online payment methods including; PayPal, Stripe, Mollie, Razorpay, Paystack, SSLCOMMERZ, Mercado Pago, Senangpay, Xenditpay, and adding more. Besides, it supports manual payment and cash on delivery. The payments are managed by "you" the store owner, and they come 100% straight into your account, BusyTap.com does not manage payments or take any commission.Make specific checkout settings for a specific store.
To make a checkout setting, click on the ‘Checkout settings’ > fill-out checkout integration form-- providing your account information.
You will get a checkout payment option. From here, enable any online payment methods and manual checkout for your store. ‘Cash on Delivery’ is enabled by default. After that, you will get the ‘Currency and Label’ option. From here, select your currency. Then you will see, in a row, three radio buttons called - Right alignment, Two decimal, and Display comma. Hover your mouse over the tooltips of the buttons, to see the functionality of the buttons. Then set the Tax and Delivery charge option. Here, you have to provide the amount of Tax in percentage and delivery charge.
Delivery preference:
You can enable/disable the Store Pickup and Home delivery option.
If you don’t have a real outlet, you can disable the ‘Store Pickup’ option. On the other hand, you have a real outlet, but you decide not to give home delivery of your products, you need to disable the ‘Home Delivery’ option. But suppose you have a real outlet, and you give home delivery, you should enable both of the two options-- ‘Store Pickup’ and ‘Home Delivery’.
If you enable the Store Pickup button, clients receive products directly from your physical store.
Preparation time: You can set the preparation time for all products. This option is very useful for a digital menu, since restaurants need time to prepared food when an order has been placed. Of course, you can use this option for your shop too, if an item has to be made or produced on order or shipped from afar warehouse.
Scheduled order: You can enable or disable the schedule order option. If you enable schedule order, you can set a time frame for the schedule order.
To enable the scheduled order, first, you have to turn on the radio button. Next, click on the box and a list of timeframes-- will appear. Now select a timeframe as you think convenient.
 Login preference: In this option, you can enable or disable Guest
purchase. If you enable Guest purchase, any people without signing up
and logging in, as a guest, can access your store or digital menu of
your restaurant on the browser and buy products or give orders for
foods.
Login preference: In this option, you can enable or disable Guest
purchase. If you enable Guest purchase, any people without signing up
and logging in, as a guest, can access your store or digital menu of
your restaurant on the browser and buy products or give orders for
foods.
And if you enable the Delivery note button, your clients can send a delivery note on how they want the delivery.
You can also determine which fields your clients have to provide in the delivery address by disabling and enabling some radio button. If you know the area of your clients, you don’t need to bother your customers to provide their countries, states, and cities. On the other hand, if you are uncertain about the area of your customers, let them fill-out their exact addresses. Well, enable and disable them as you see fit.
Now click on the Save button.
0 Comments
Leave a comment
Login to comment